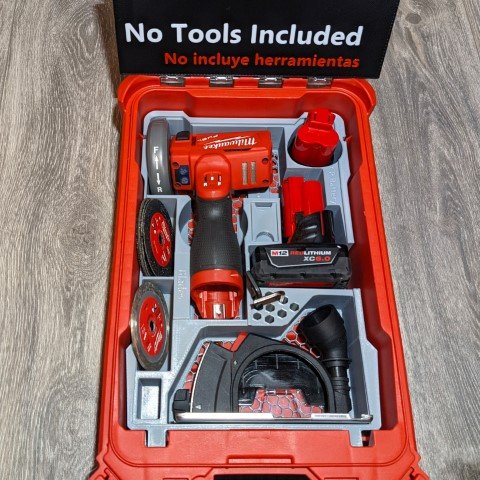
Secure Fit for the M12 3″ Cut-Off Tool, Batteries, and Accessories
Discover the ultimate organization solution with our custom 3D-printed insert designed specifically for the Milwaukee M12 3″ Compact Cut-Off Tool (2522-20). This precision-engineered organizer provides a snug, secure fit for all included accessories, a variety of cut-off wheels and blades, plus M12 batteries in both 6.0Ah and compact 3.0Ah sizes. Perfect for tool enthusiasts and professionals, it keeps everything neatly in place, enhancing efficiency and protecting your gear during storage or transport.
- Fits: (PACKOUT 48-22-8435)
- Tool: Milwaukee M12 Cut-Off 2522-20
- Holds: blades/wheels, guard, batteries (M12 CP and XC batteries)
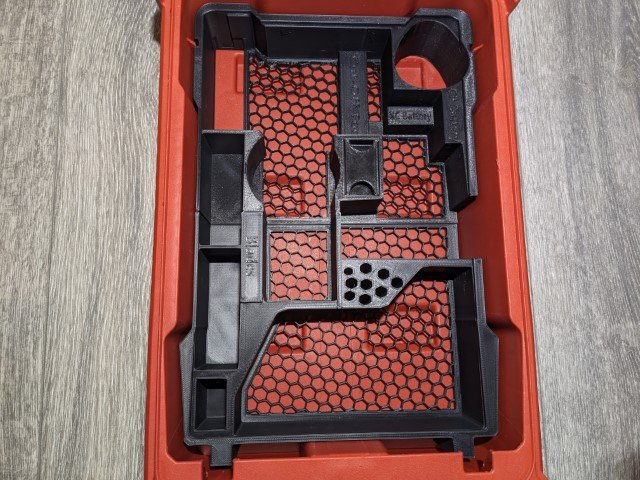
- Material: PLA+
- Colors: Grey/Black/Red
Where to buy?
Currently our products are hosted on either eBay or Etsy, so you can securely buy them with your preference of which one suits your needs best.
If you need help with common questions, help installing, or troubleshoot common issues such as fitment here are some helpful resources below:
Will this fit my Packout box?
This insert is only compatible with the 5-compartment Deep Milwaukee Packout Organizer. It will not fit the shallow or compact versions.
Is the insert removable?
Yes, you can lift the insert out when needed. It is not permanently mounted.
What material is it made from?
The inserts are 3D printed using durable PLA+ and should hold up fine under normal use and conditions. Prolonged direct sunlight for many days at a time is not recommended as that can degrade the plastic over time. But normal use should not be a problem! Basically, don’t leave them outside in the sun unattended for an extended time (days).
How do I clean it?
Wipe with a damp cloth. Do not soak or use harsh chemicals, as they may degrade the print finish.
Before You Start:
- Make sure you have the 5-compartment Deep Milwaukee Packout Organizer.
- Unload any items from the organizer and wipe it clean of dust or debris.
1. Place the Inserts
- Gently slide each insert into the appropriate compartment of the Packout Organizer, on the left side only.
- Start with the bottom insert and press it as far as you can against the bottom edge, then take the top insert and slide it down GENTLY and press down to set it into place. You may need to wiggle it a bit as it can be a tight fit as these inserts are precision-fit.
2. Load Your Accessories/Cutting Discs/Pads/etc
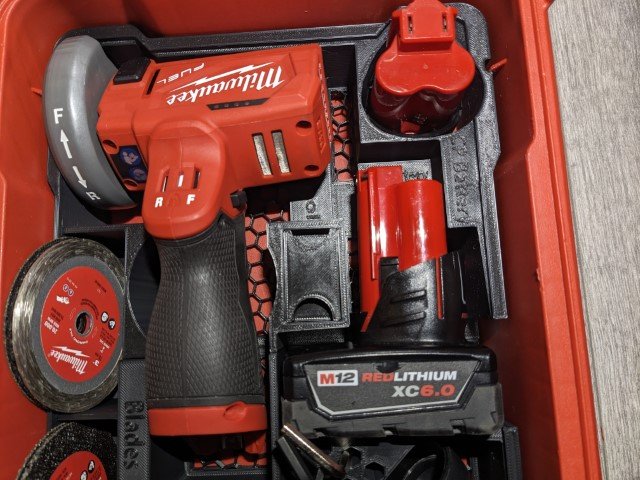
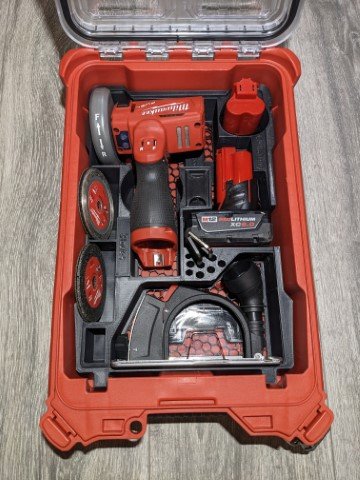
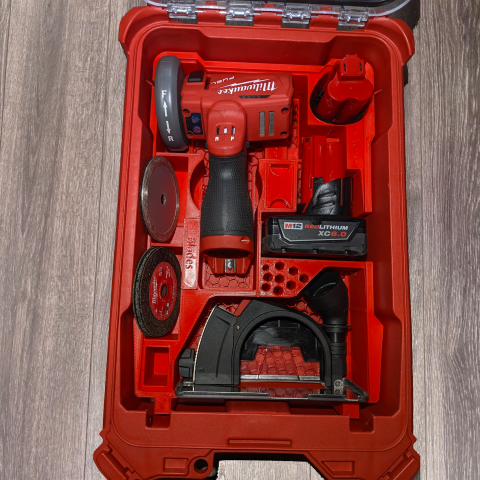
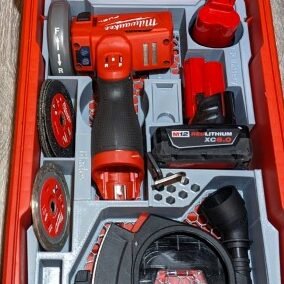
The M12 Cut-off tool goes face down as shown below, and it must have the battery removed. The M12 CP (smaller) battery goes in the upper right-hand side. The larger M12 XC battery goes below it as shown below. Then you can load your various cutting discs on the left-hand side as shown below. The hex shaped holes can allow Allen keys or various bits to be stored. Finally, the cut-out part on the bottom is for the cutting shield accessory.
3. Close and Test Fit
- Close the Packout lid gently and verify everything clears the lid.
4. Optional AirTag Holder
Newer model inserts have a small block with a cutout in it to allow for an Apple AirTag or similar sized Android tag to be placed in the slot then reinstalled into the cutout in the middle of the insert (on the top insert) to allow it to remain hidden.
If the AirTag holder itself is too loose, put a piece of tape over the sides to help snug it up from falling out or moving during transport.
If the AirTag is too loose, you can wrap it in a layer of tape to help snug it up in the holder and allow for easier insertion and not rattle around.
It’s advised to also put a piece of tape over the bottom slot once the AirTag is installed as that will prevent it from falling out when you insert the holder into the slot on the inserts.
If you do not wish to use an AirTag or similar Android tag, then either leave the holder in the slot or you can discard the holder.
Inserts fit too tightly, hard to install them into the PACKOUT box?
These are precision fit inserts so they can be a bit tight installing at first. What you want to do is place the bottom insert in first, and hold it firmly against the bottom of the box as you gently lay down the top insert. Place even pressure to ensure the inserts (top and bottom) lay flat against the bottom of the box and they should snap in.
The inserts were left in the sun or extreme heat and they look like they have warped a bit
Sun exposure is something these inserts are warned about when your item was shipped to you, with a giant sticker that warned to keep out of the sun or extreme heat. These inserts are printed in a way to help mitigate this from happening, but there are several ways it can warp, not all are bad or impedes functionality. For example, it may warp slightly on the bottom of the inserts, where there is a bit of a hollow gap in the way it prints, so if the bottom looks bubbly in a way, that’s not something that can impede functionality as its on the bottom and out of sight. However if a wall of the print looks warped and that is something visible and is causing the functionality to be impaired, that is another matter. For these issues, its best to email pictures of the warping to info@handy3dprint.com and see if there are any warranty options available. Typically the warranty policy is as long as you the buyer are OK with paying for shipping, then sending a replacement part is something that we can do. We are not a big store like amazon to afford free shipping so if you can cover the shipping label (under $10) then in most cases sending a replacement part isn’t a big deal.